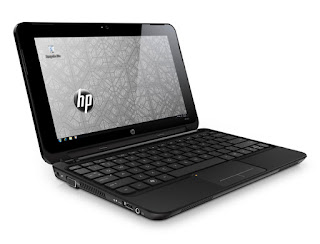
Before I start my tutorial, let’s make it clear, the most common problem that people fail to install is the blue screen came out before the windows screen appear. This is due to Windows Xp is unable to boot the Sata drive and thus you need to integrate the SATA drive into the windows Xp installer. The tutorial I made it here is a few simple steps to integrate the SATA drive before the windows os installation.
You need to download these three software before you proceed with windows installation:
Nlite – this is the software I mentioned and it’s use to integrate the SATA driver into the windows installer. Download it here.
WintoFlash – it is use to transfer the Xp installation files to pendrive so that you can boot the pendrive and use it to format and install the windows to your netbook. Download it here.
Download the Sata driver here:
1 or 2
After that, follow the steps below:
1.Insert your windows installer CD to the cd room.
2.Open Nlite, search the allocated CD drive like mine is D:
3.Then click next, and create a new folder to save the installation files into it.
4.After the process complete, an interface will come out and choose integrate driver.
5.Extract the SATA driver you download just now by double click and please remember the file name. Then please search the file in c:\swsetup\SP37005.
6.Go back to Nlite and click insert multiple driver folders and choose the folder SP37005.
7.Choose all by pressing CTRL + A then click OK.
8.Click next and let the Nlite do the remaining process. Until here, you already done for making a complete windows installer.
9.For those AVG antivirus users, please close your AVG programme before the following steps.
10.Open WintoFlash.exe and click next. Choose the folder where you store your windows installer just now. Then choose your allocated USB drive as well.
11.Let’s the transferring process finish itself and this might take about 15-20 minutes.
12.After that, unplug your USB pendrive and plug it into your Hp mini. Press ESC then f9 before the booting process.
13.Choose to boot your USB drive, Then a screen will appear and you have two options.
14.Choose the text option and install XP as usual.
15.After that, the netbook will restart and please boot again your USB drive. This time choose the other option which is the GUI option.
16.A windows Xp screen will appeal and just follow the remaining commands.
17.Congratulation. You are done!!!
Caution: Do not open too many programmes because it might interrupt the file transferring process.
The windows Xp drivers for Hp mini can be found here:
hp

No comments:
Post a Comment